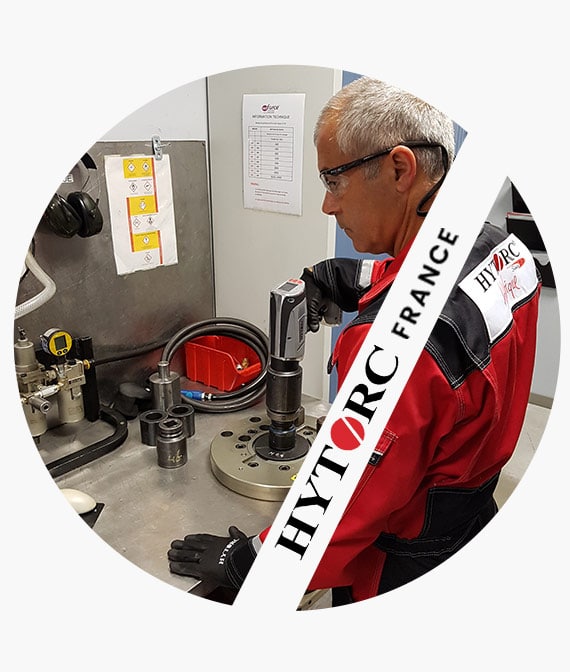
Hydraulic wrenches as well as HYTORC screwdrivers are dynamometric tools and to guarantee this precision, it is necessary to regularly check the constancy of their performances.
The calibration frequency for torque wrenches and torque screwdrivers is one year according to ISO 6789. Our team is trained and equipped to perform calibrations up to 50 000 N.m.
We can calibrate your torque wrenches either in our laboratory near Bordeaux or directly at your place by moving the calibration bench to reduce the downtime of your torque tools.
Each calibration results in a dated and numbered certificate as well as a label with the same information on the controlled tool.

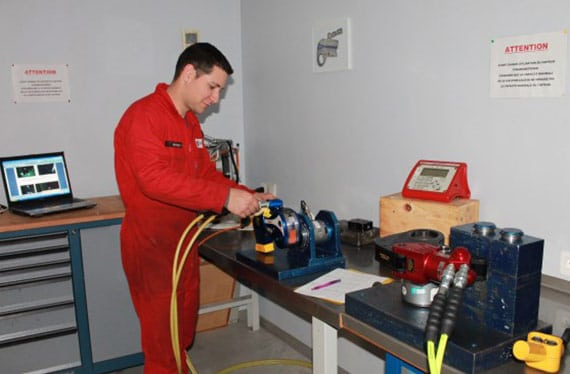
Our calibration equipment consists of several static torque transducers of various capacities for checking hydraulic torque wrenches and manual torque wrenches.
These instruments can be used to check torque tools of all makes. These transducers are mounted on a sturdy steel bench with a shim system for the larger transducers, which allows the reaction arm of hydraulic torque wrenches with a driving square or the heel of hydraulic torque wrenches with an eye to be supported.
We also have a range of torque transducers for use on manual torque wrenches.
We also have a dynamic torque sensor to monitor the performance of torque wrenches whose operating inertia is not compatible with static sensors. The static sensors are connected to an electronic box with touch screen which will record the measured data.
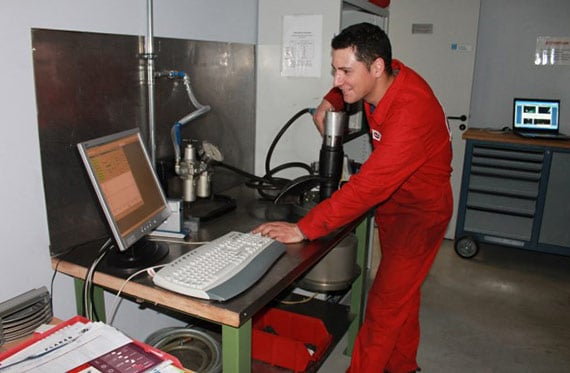
The dynamic sensor is directly connected to a computer for reading measured values. The instruments are also calibrated every year to guarantee the conformity of the calibration bench.
The dynamic sensor is directly connected to a computer to read out the measured values.

The calibration procedures for hydraulic wrenches and torque screwdrivers consist of taking several torque values at different stages of the tool’s capacity to check their accuracy against the theoretical value and also note the repeatability of the value for each stage.
To best reflect your tool’s performance after calibration, we issue a new torque-pressure correspondence chart with the measured values.
We have the capacity to move our calibration bench with sensors, electronic boxes, computers and label printer to you in your workshop to check your tool park.
To avoid the hazards of transport and limit downtime for your equipment to a strict minimum, don’t hesitate to consult us about these on-site services.
